Chassis > Welding Floorboard
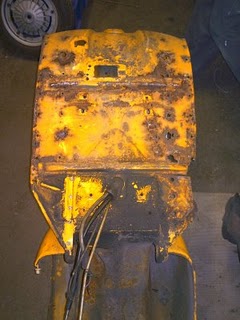
Corroded Floorboard
A typical 'disease' spread among many Vespas. But thank god nowadays there are a couple of affordable spare floorboards available to order. In case that closing a few holes isnt't basically what you are looking for, the best choice is a new floorboard.
Drill Out Old Floorboard
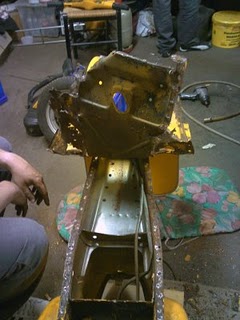
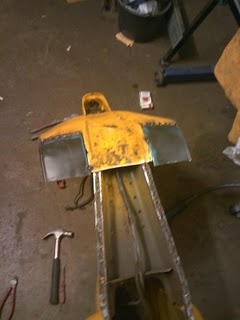
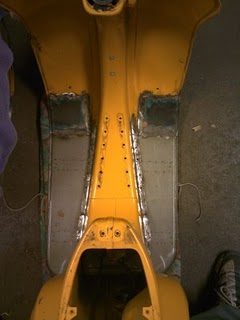
This is the most time consuming part of the job. the floorboard is connected to the main frame by a lot of welding spots that have to be removed/drilled out. You better start with removing the paint around all area of welding spots. The good thing with those old Vespas is that you can basically see the spots shimmering through which makes it easy to detect them. For all newbies, the welding spots are all along the folded area left and right to the inner center bar of the chassis. Punch-mark all spots and either use as special welding spot driller or a regular driller of the right size to remove the welding spots. Chop off the bored spots using a strong screw driver or a chisel.
Cut Off Floorboard
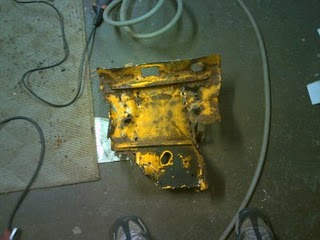
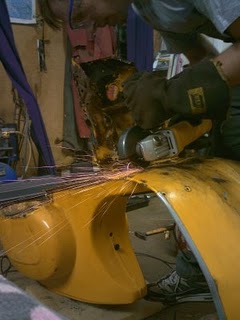
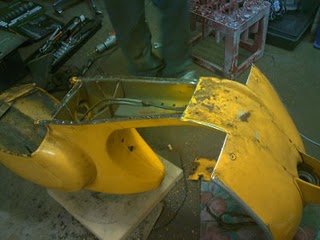
Check out the length of the new floorboard before cutting off too much of the old one. Mark the old floorboard. Pay attention to the center frame part to not cut it when removing the old floorboard using the cutting disc.
Not enough - something missing?
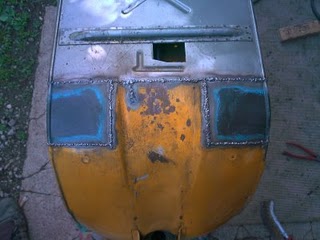
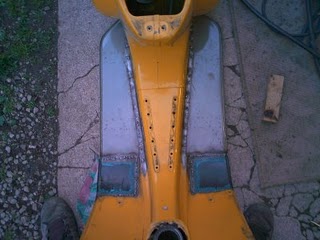
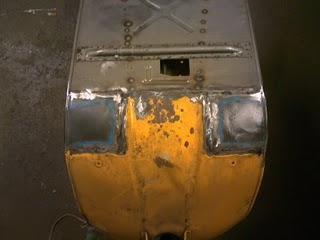
In the event that the new floorboard isn't big enough, you will have to patch the remaining holes. Any old but still usable metal of the proper thickness is fine. Such like from an old damaged Vespa frame or old car doors for example. Cut out the needed pieces and weld them in considering the correct power level for the welder. The plate thickness is relatively small.
Adjust and Weld
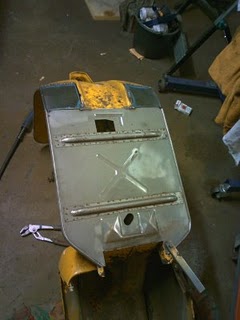
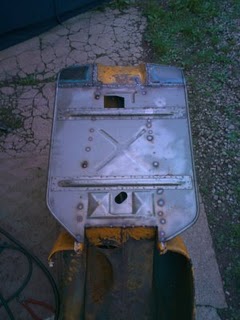
Remove all remaining rust from the center web plate. We recommend to add some rust stopper which can be welded over. Now fix the new floorboard in its final position and start setting some few welding spots at the vertical fold part next to the engine fixture holes. Be ready for some extra adjustments as Vespa spares usually do not really fit very well. Typical examples are the rear brake notch and hole that do not claim to be perfect with respect to accuracy of fit. As soon as all fits well you may start seaming the remaining joinings. Begin welding all the spots at the center web plate. Weld from the bottom side since the new floorboard hasn't got any holes yet. Now seam all joinings. Keep some distance between each spot in order to minimize thermal warp. All this done slow and easy. Take your time and try not to overheat and warp the material. Patience.
Grind Down
Almost done. Grind down all weld spots and seams. Use an angle grinder but don't remove too much material. Otherwise you will have some holes to be welded again. Rather remove surface irregularities by tin-plating or by using filling paste.


