


Misc > Break Servicing
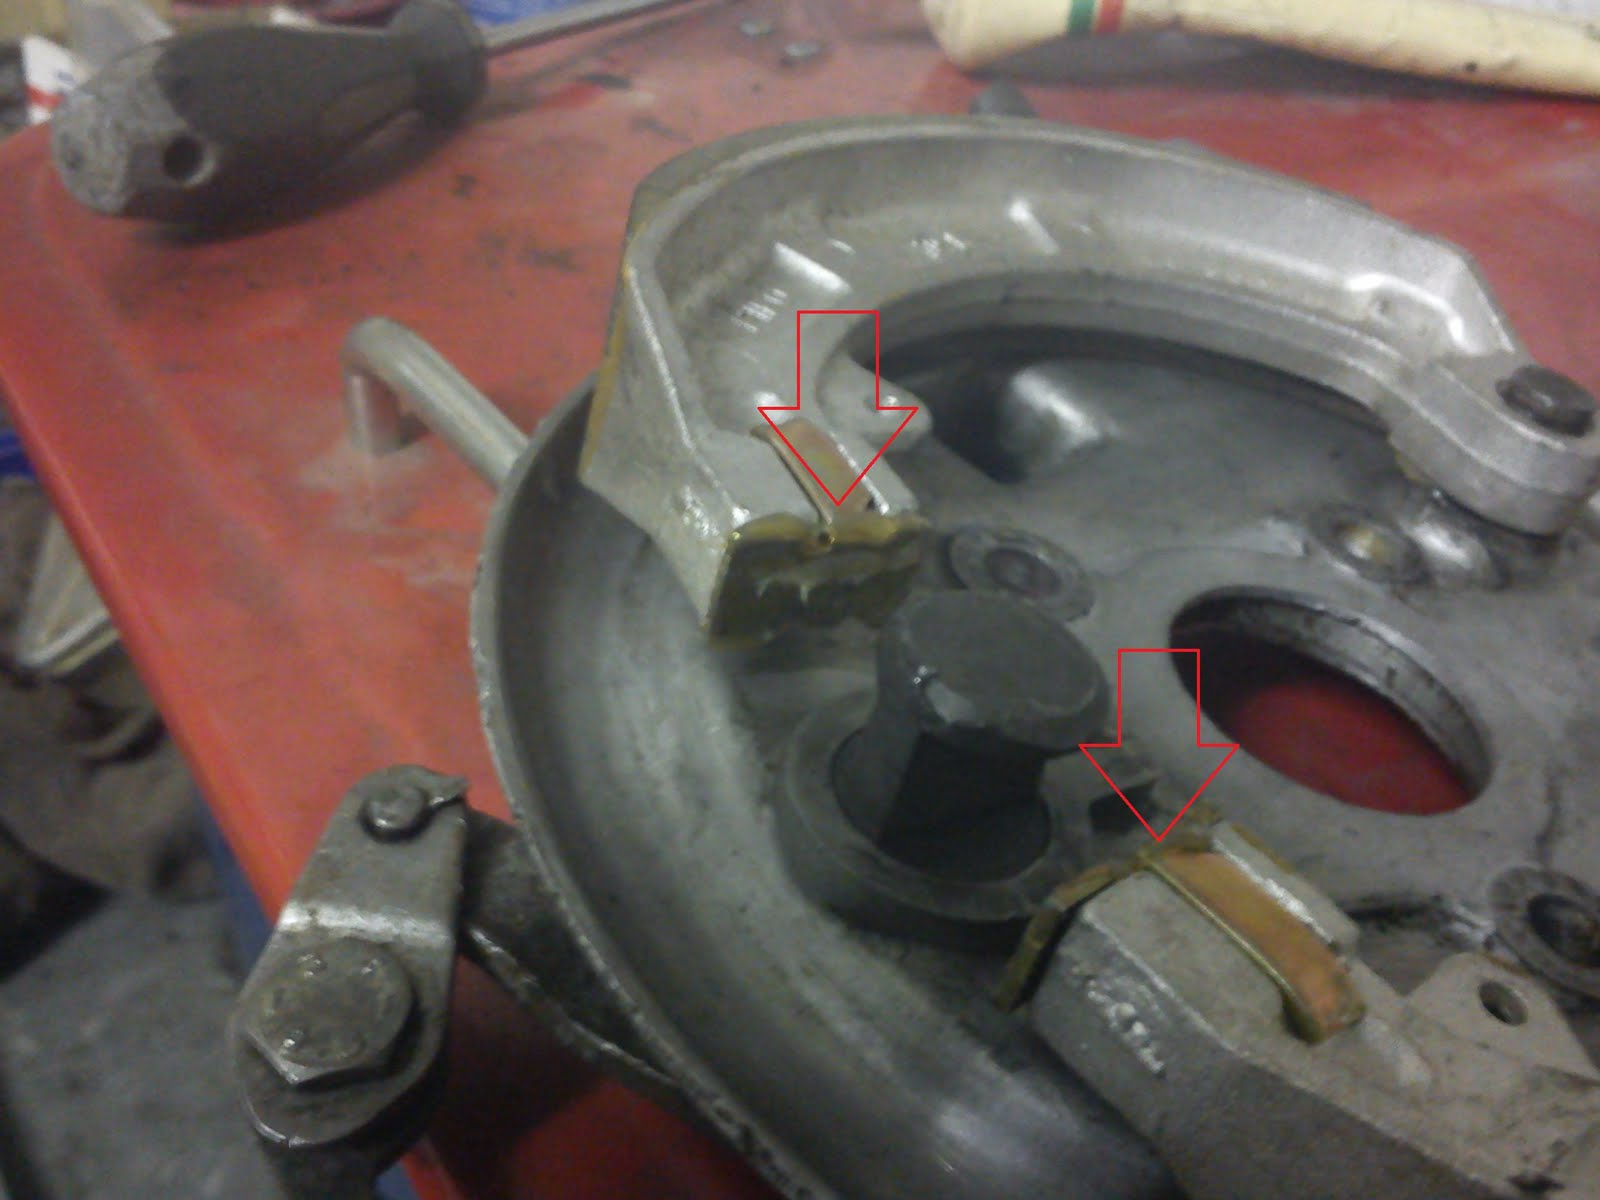
Break Pads, Break Cam/Arm and Simmerring

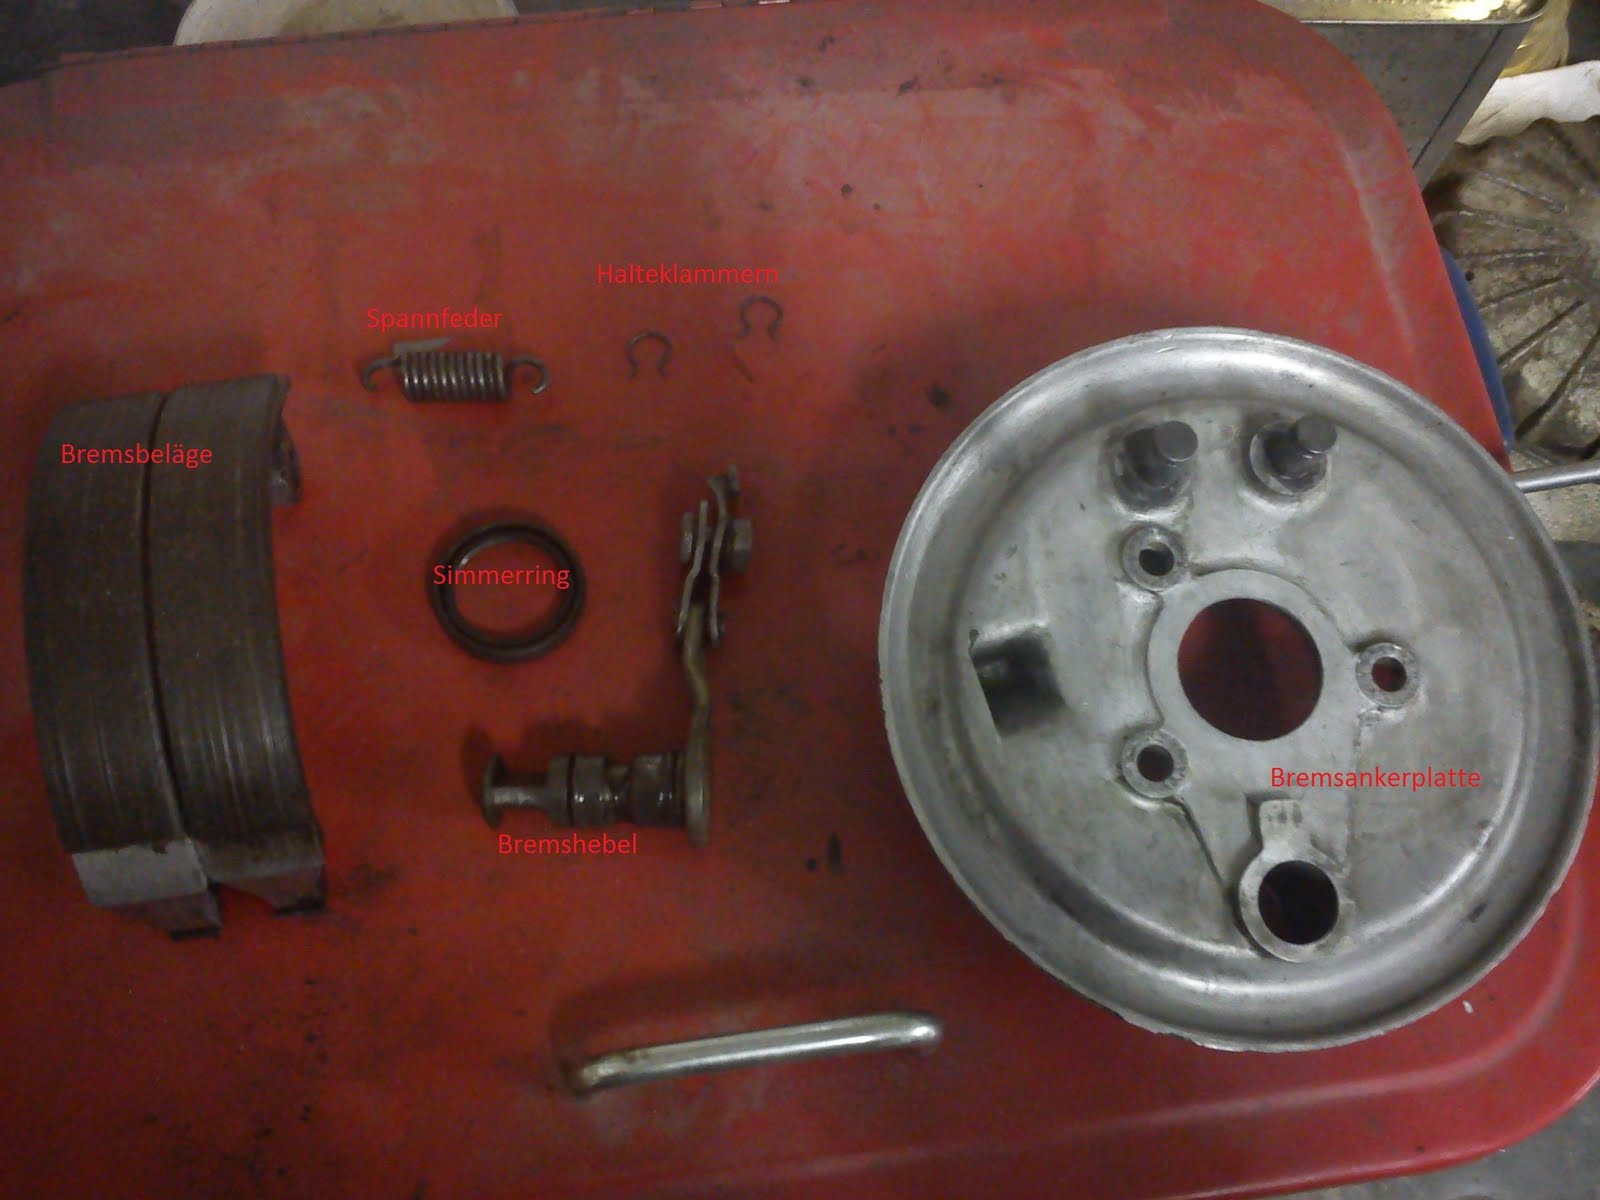
Break Pads, Break Cam/Arm and
Simmerring dismantling
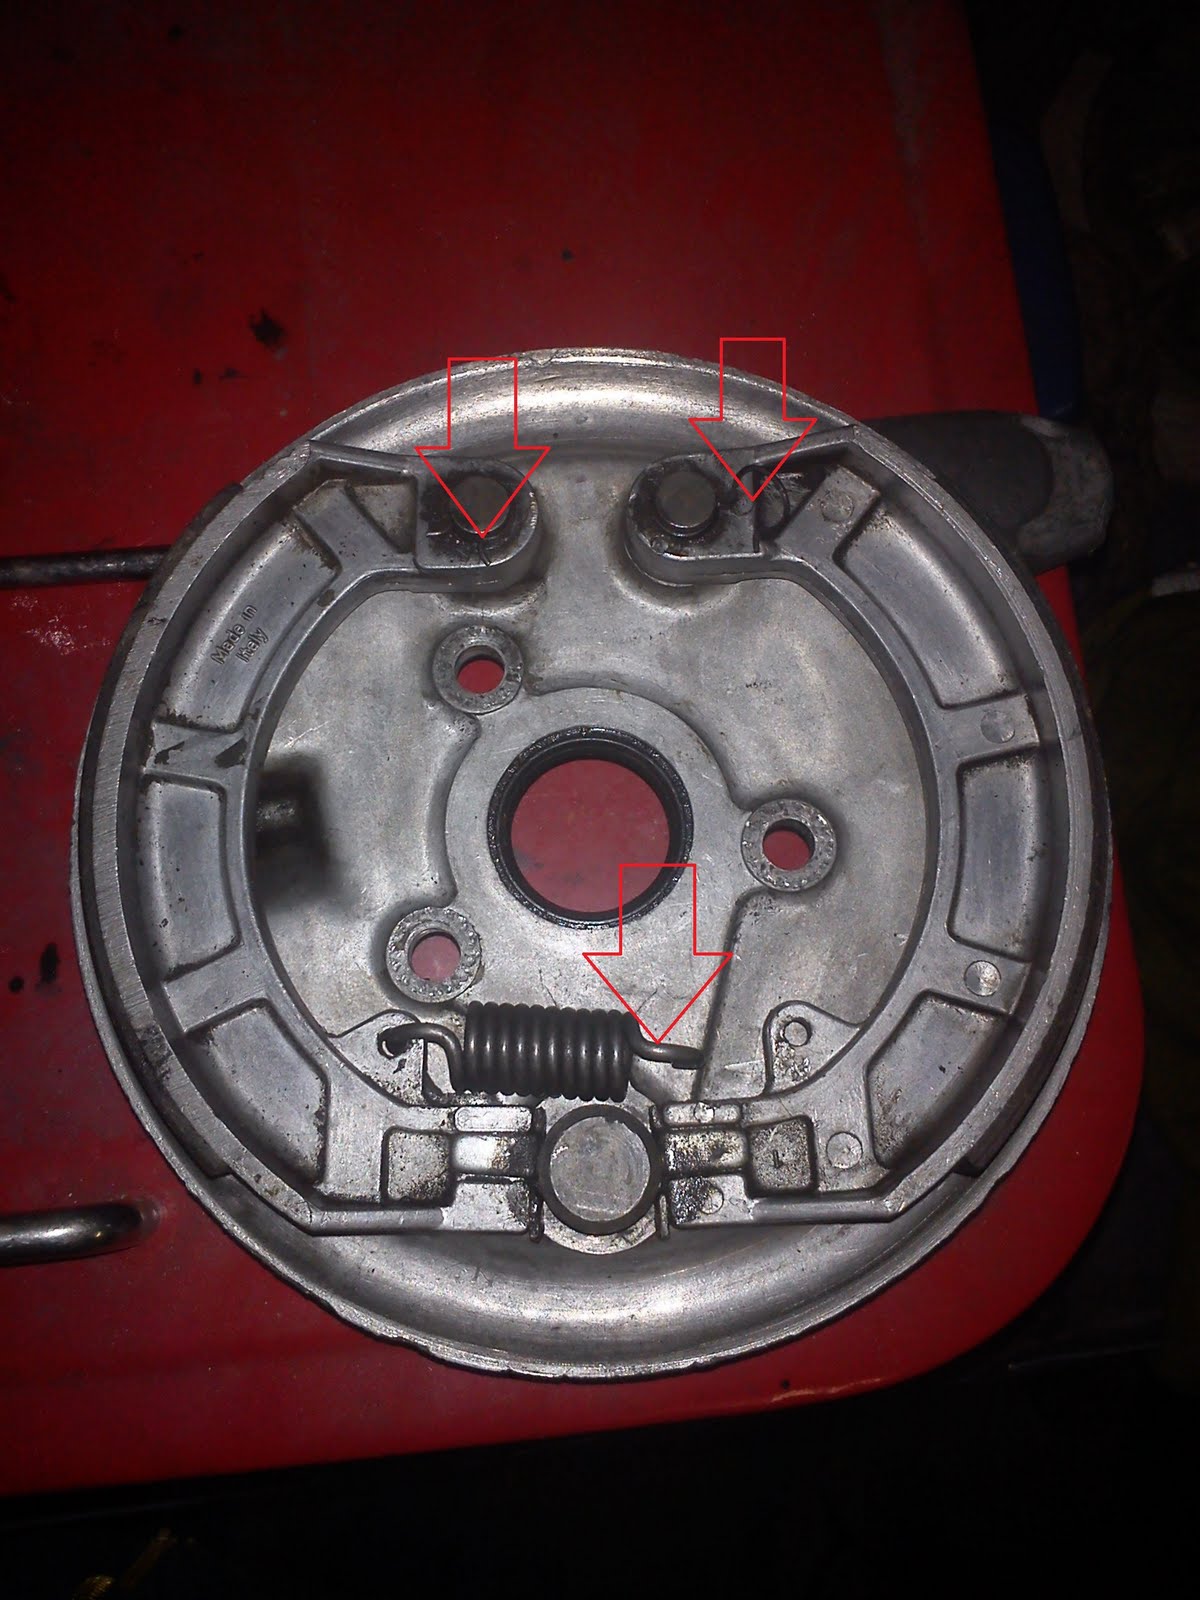
Firstly unclamp lower spring. Use e.g. a screw driver or long nose pliers. Please be aware of the high pre-tension of the spring. Now unclamp the safety clips of both break pads and remove the old pads.
With a little bit of luck you may now easily remove the break Cam/Arm. It unfortunately often got stuck and is hard to remove. Use a proper tool (sockets may work well too) to remove the Simmering.
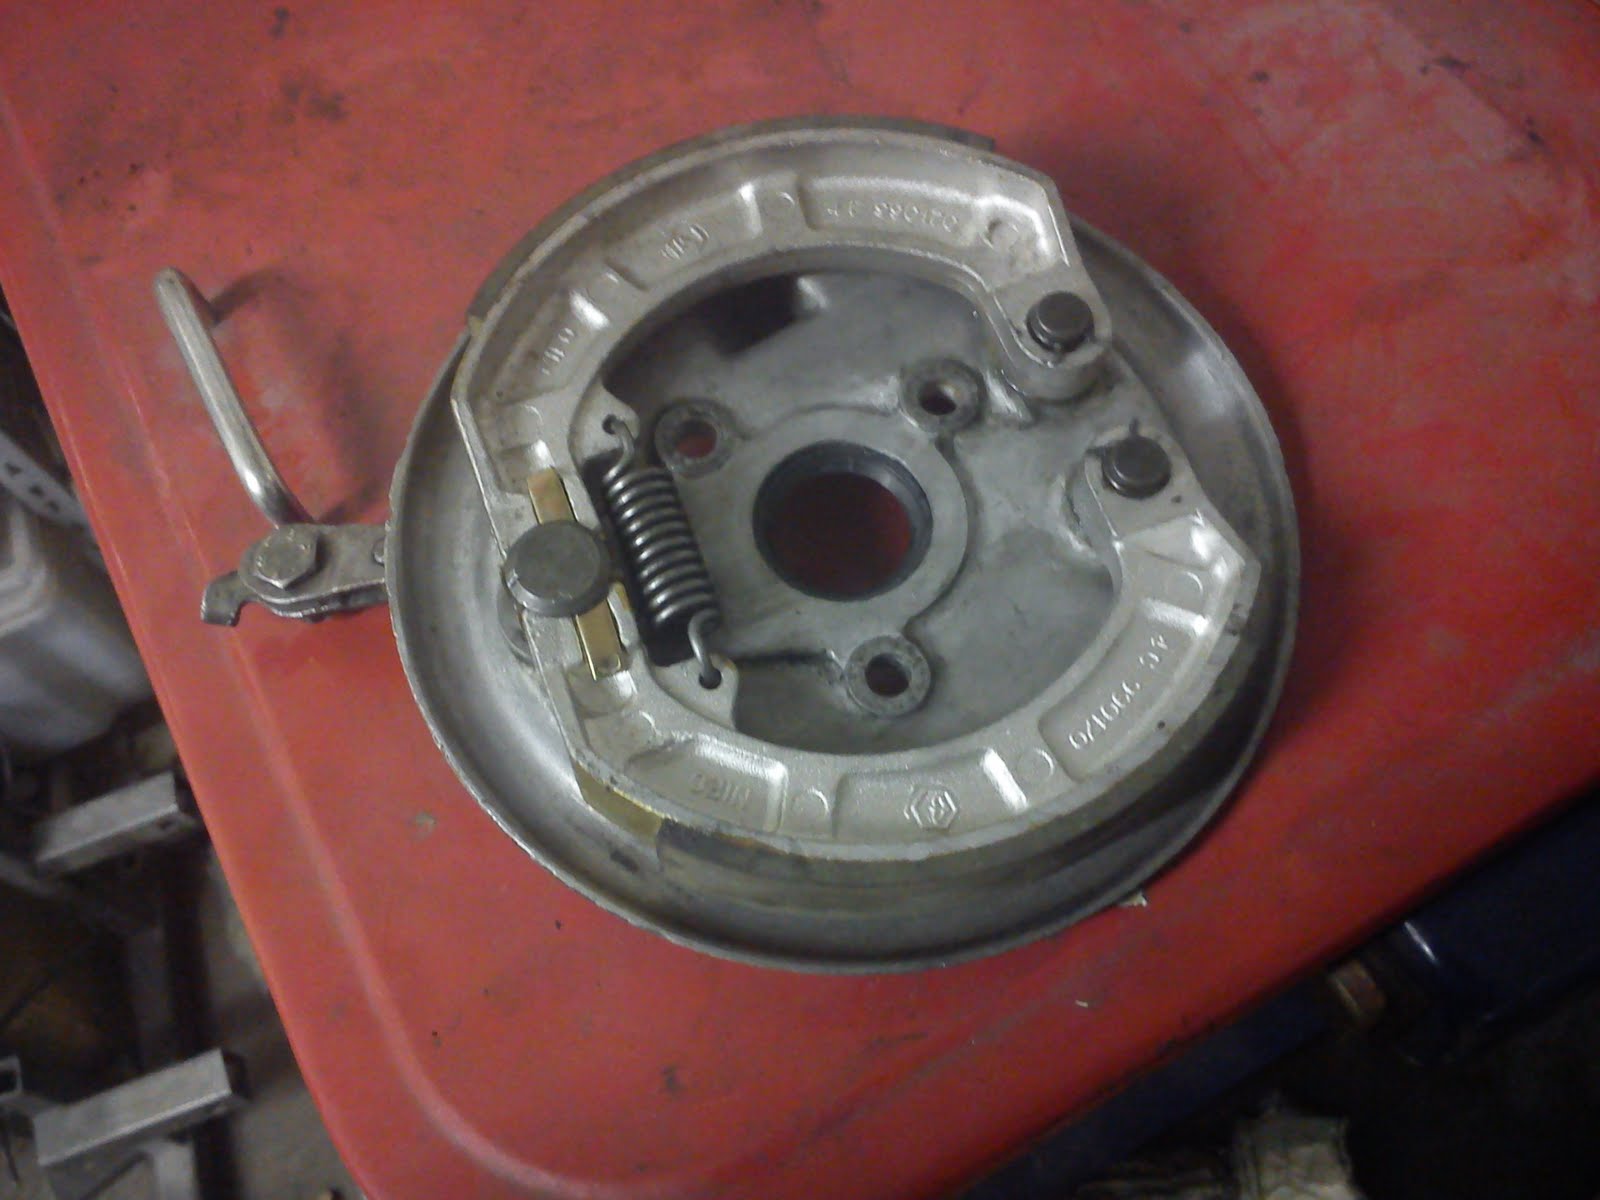
New vs. Old Break Pads
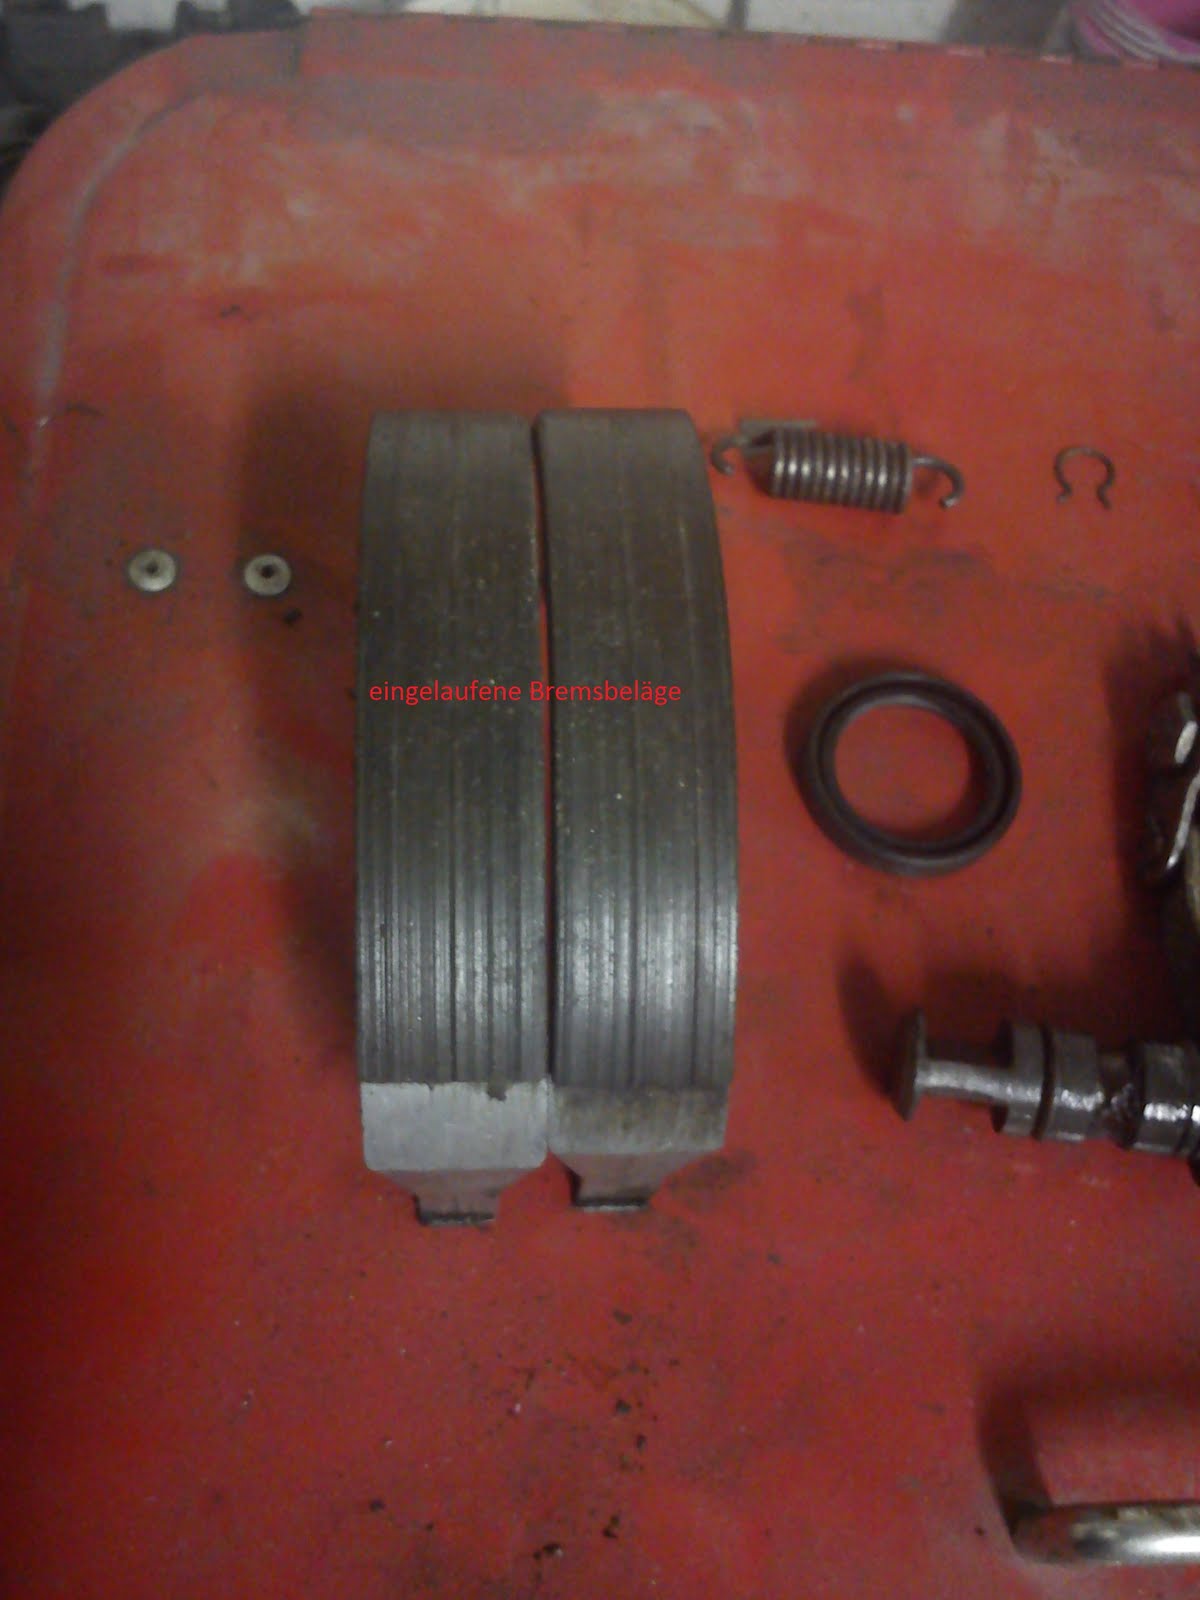
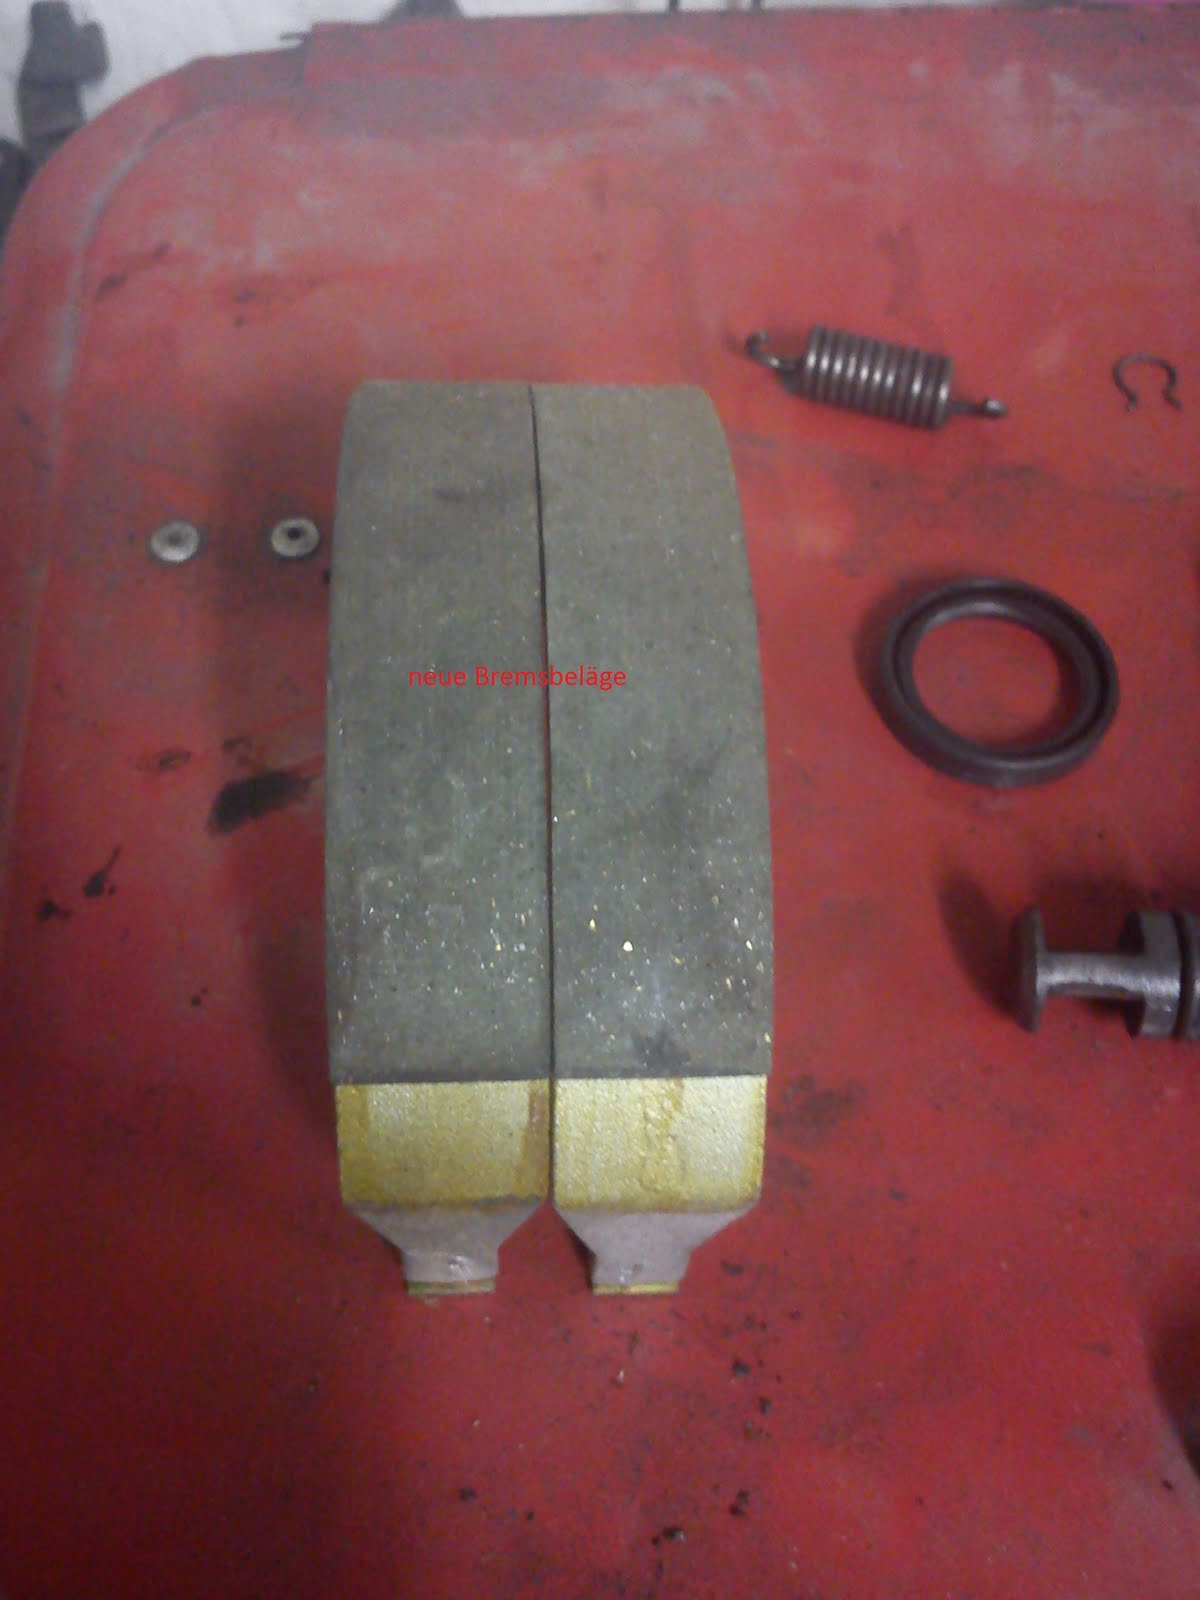
New vs. Old Break Pads
These pictures show some good examples of worn out break pads and brand new ones with smooth surface.
Contact Area Lubrication
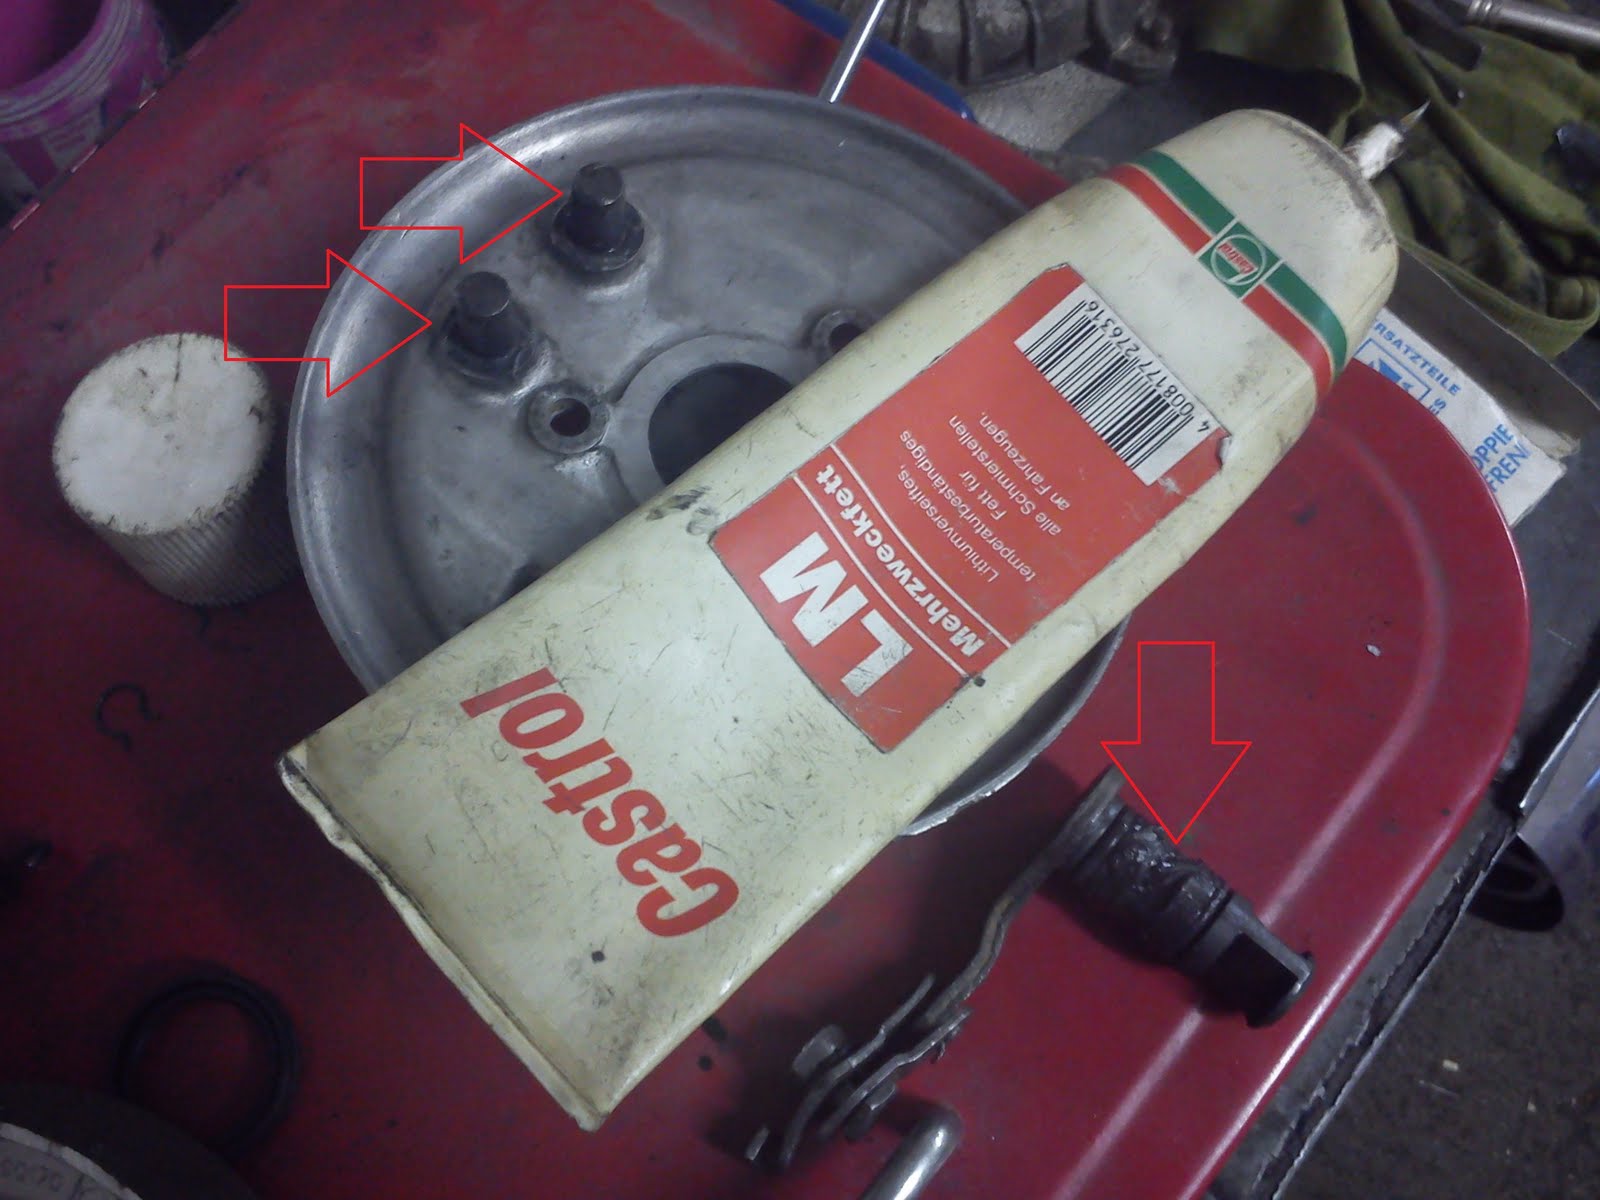

Contact Area Lubrication
All areas of contact have to be well lubricated in order to secure a smooth operation and to avoid squeaky breakes. Areas to lubricate are:
- Upper Pivot Bolt
- Carrier Plate Area
- Break Cam/Arm Contact To Carrier Plate
- Break Cam/Arm
You may now also replace the two small sealing rings of the break cam but this is not necessarily needed as long as they are not damaged.
Insert Simmerring

Insert Simmerring
Adding some grease to the outside of the Simmering will strongly support the process of insertion. Use a proper tool to insert the Simmering as straight as possible and to avoid tilting.
Ready
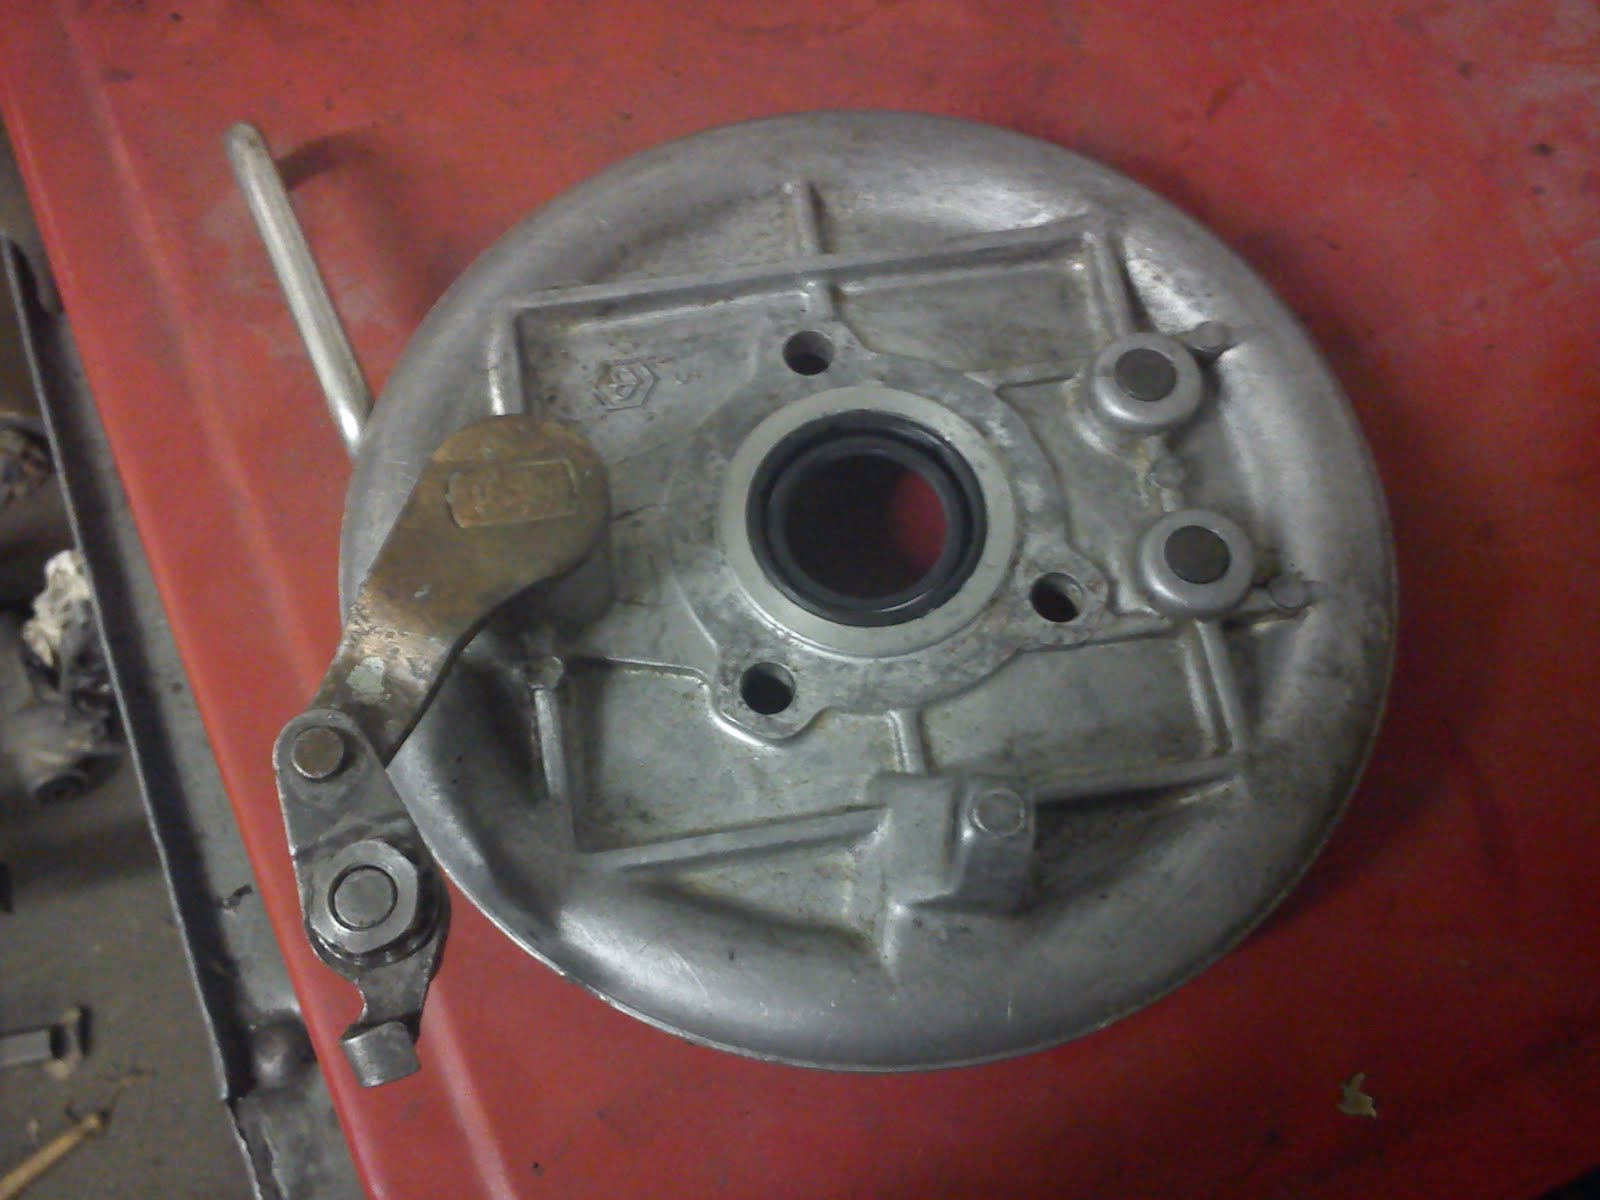
Ready
Ready now. This is how it should look like. Have a good break!