Misc > Tire Fitting
Preparation
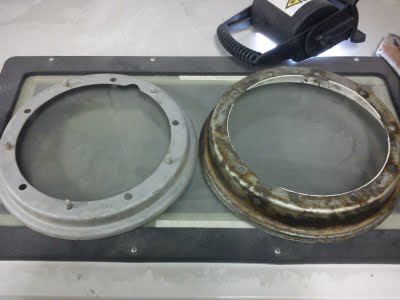
Removing the old tire from the rim is certainly the hardest part. Best help you usually get from WD-40 lubrication, patience, screw driver and endurance as well as any other tool that supports lever action. The major reason for this tough job is simply the corrosion on the inside of the rim which makes the tire stick to the metal just like super glue. The root cause for this corrosion is basically that there is always a tiny gap between both halves of the rim, nearby the rim bolts. Around such spots the water can make its way inside, remaining there causing the corrosion while the years pass by.
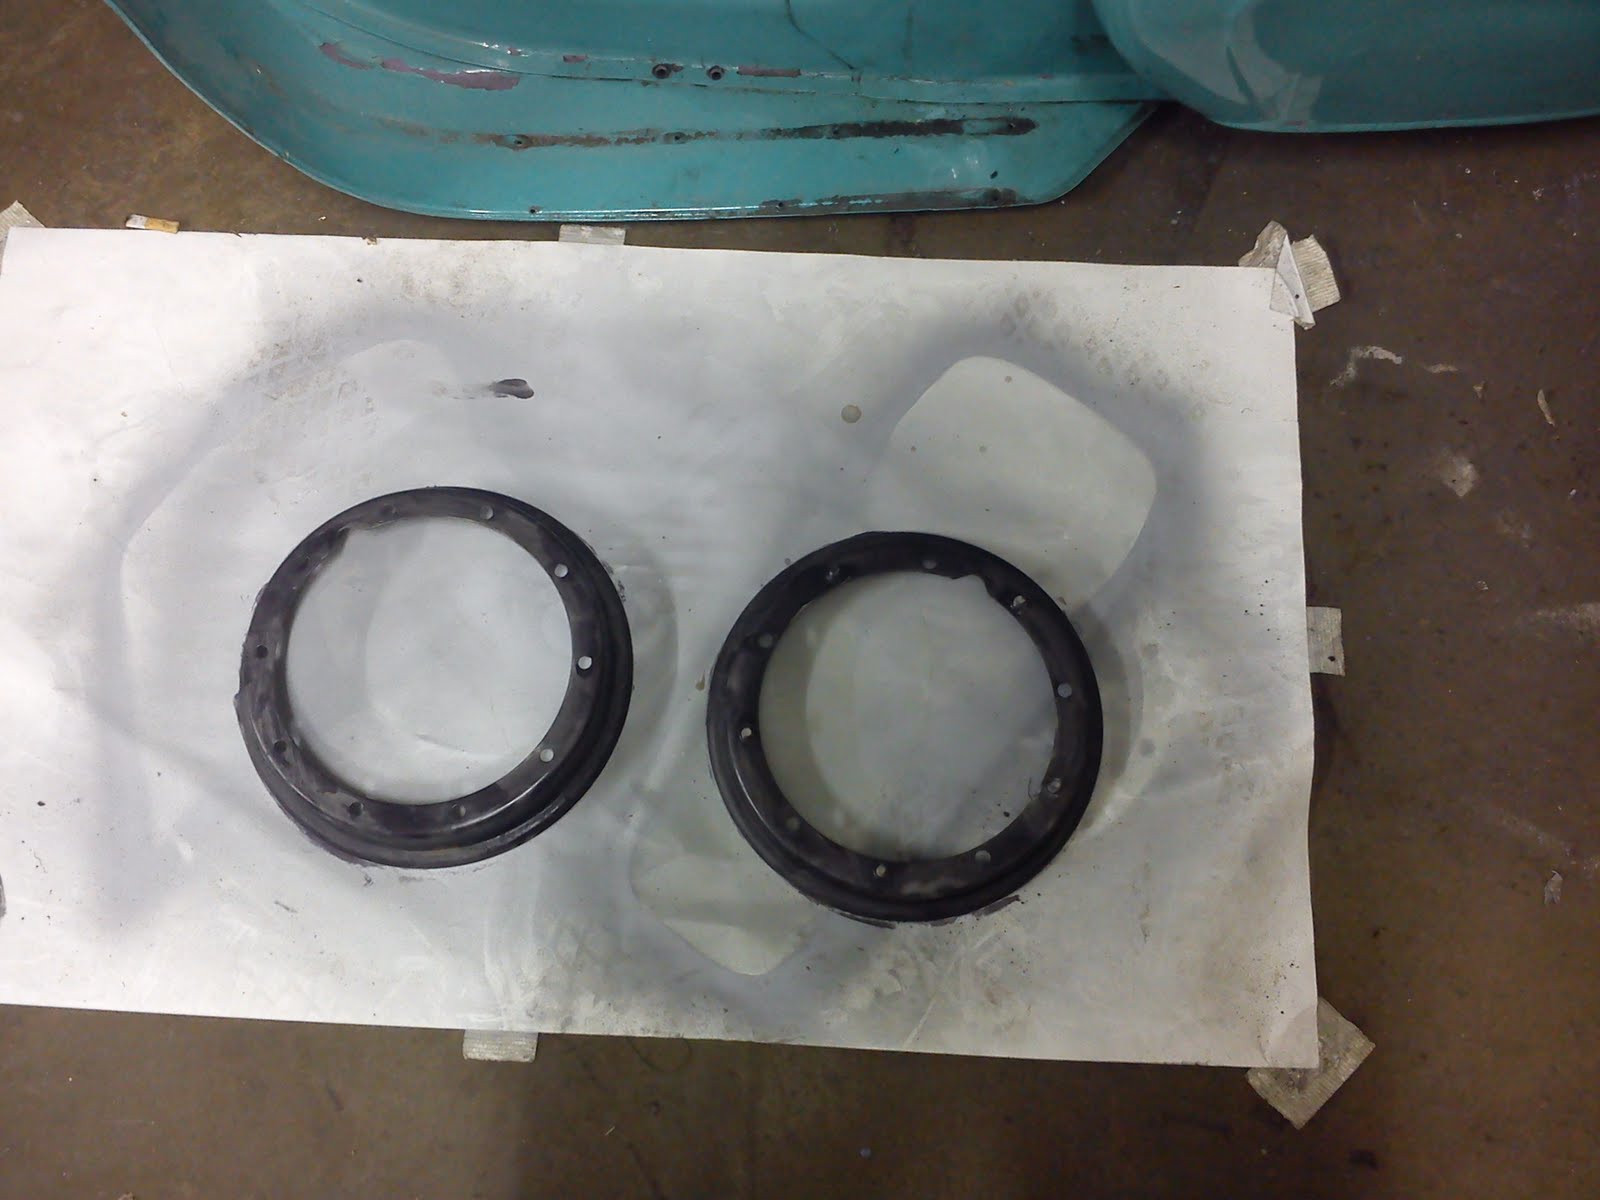
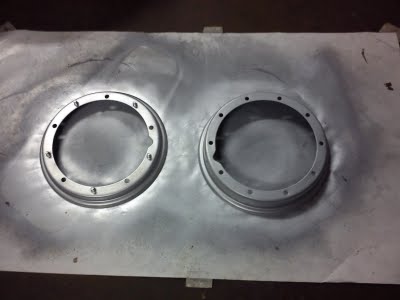
First choice to clean the rims is for sure sand blasting. This should be followed by the application of rust converter. Prime coating and the final paint finalize this process.
Rim Protection
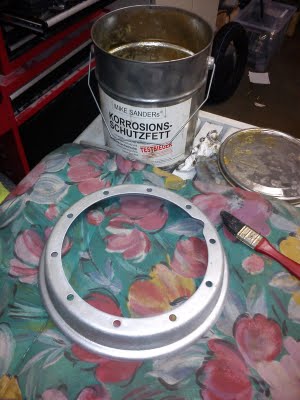
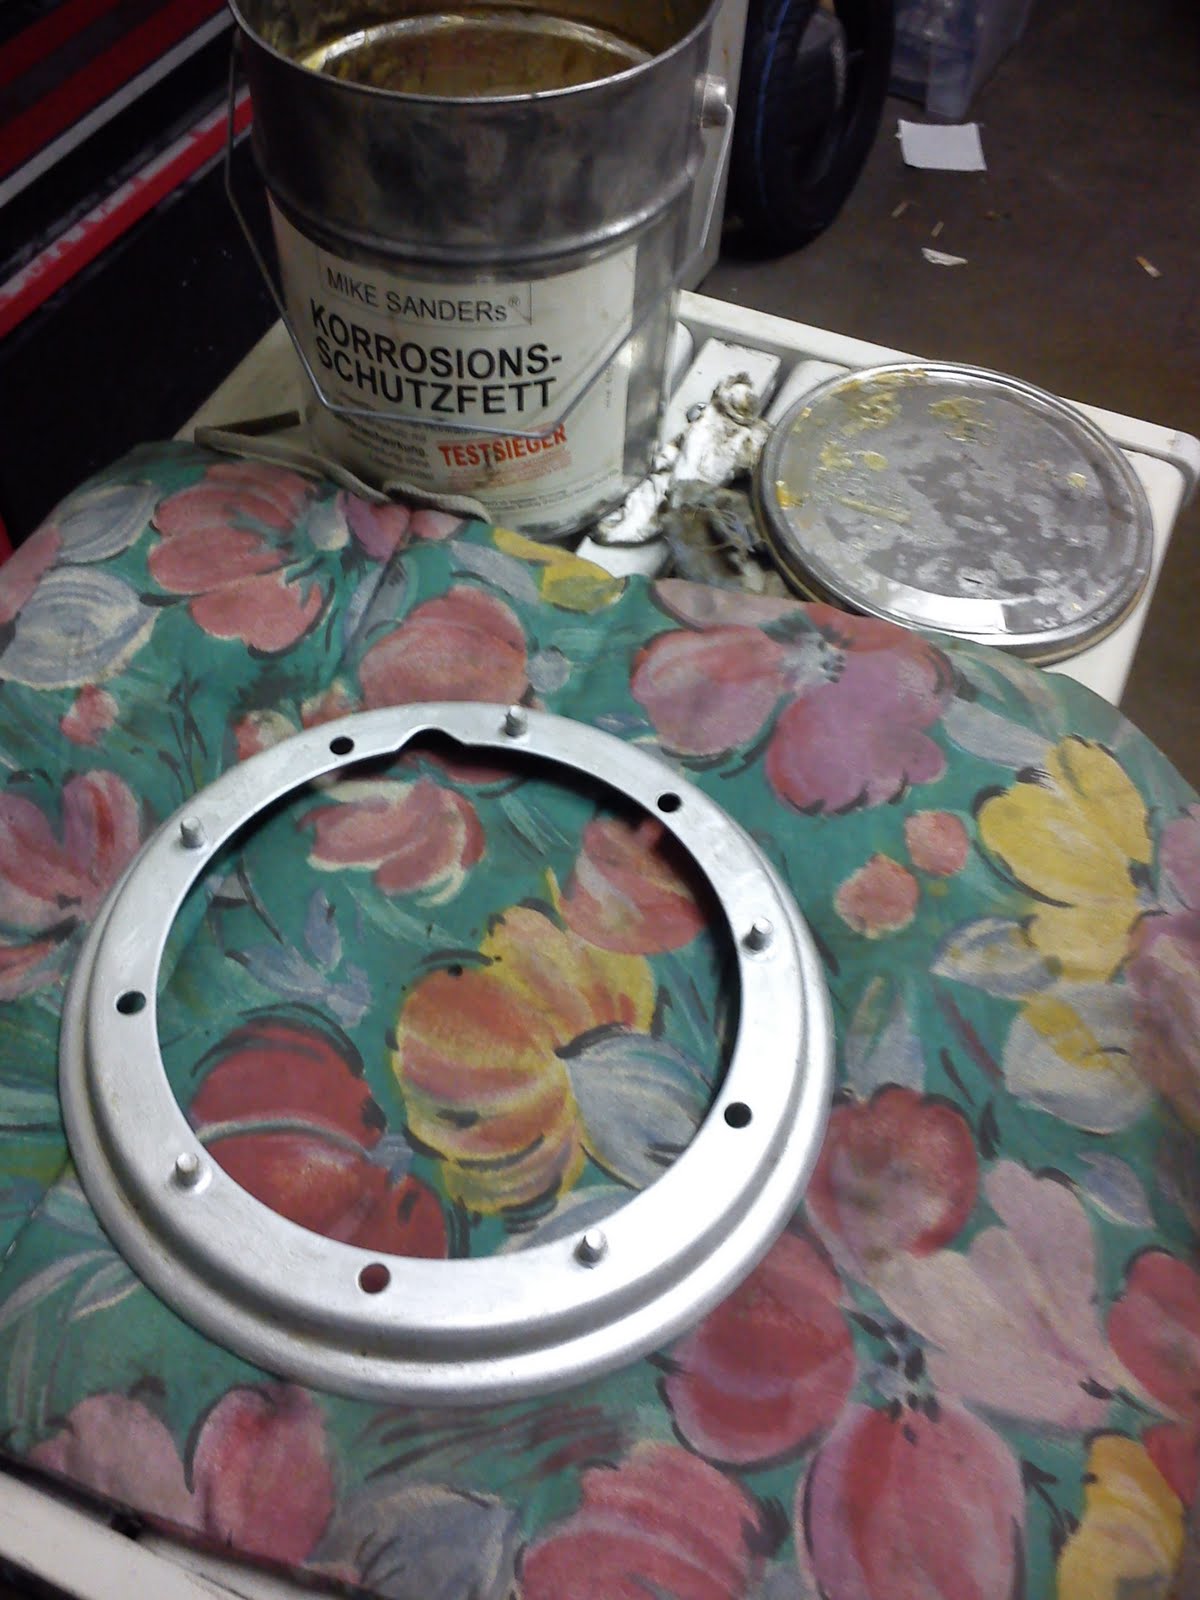
To avoid water and humitidy intrusion into the inside of the rim and in order to avoid any secondary damage, we apply a special grease on the inside of both halves before the final assambly. Mike Sanders Anti-Corrossion Grease. Adding ordinary grease is still better than nothing in case you are missing special anti-corrosion grease. Adding grease to the rim's inside will also help you to smoothly mount the new tire. We recommend to always add grease to both halves of the rim.
!We have been approached by some forum users advising us about the fear that adding grease between the rim and the tire may result in a slipping tire whilst breaking. We have not yet been experiencing any difficulties related to this concern. Any professional tire replacement is also made by using tire grease. In fact the ingredients are slightly different, using wax and soap. However, in order to provide a 100% correct result and advice we are going to run a special test and record the result on tape. So please hang on and stand by for more news!
Tube
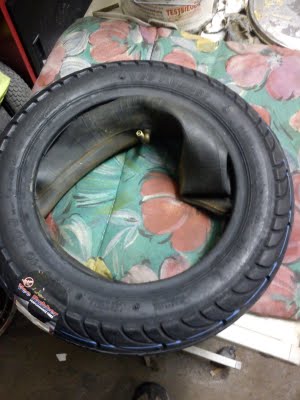
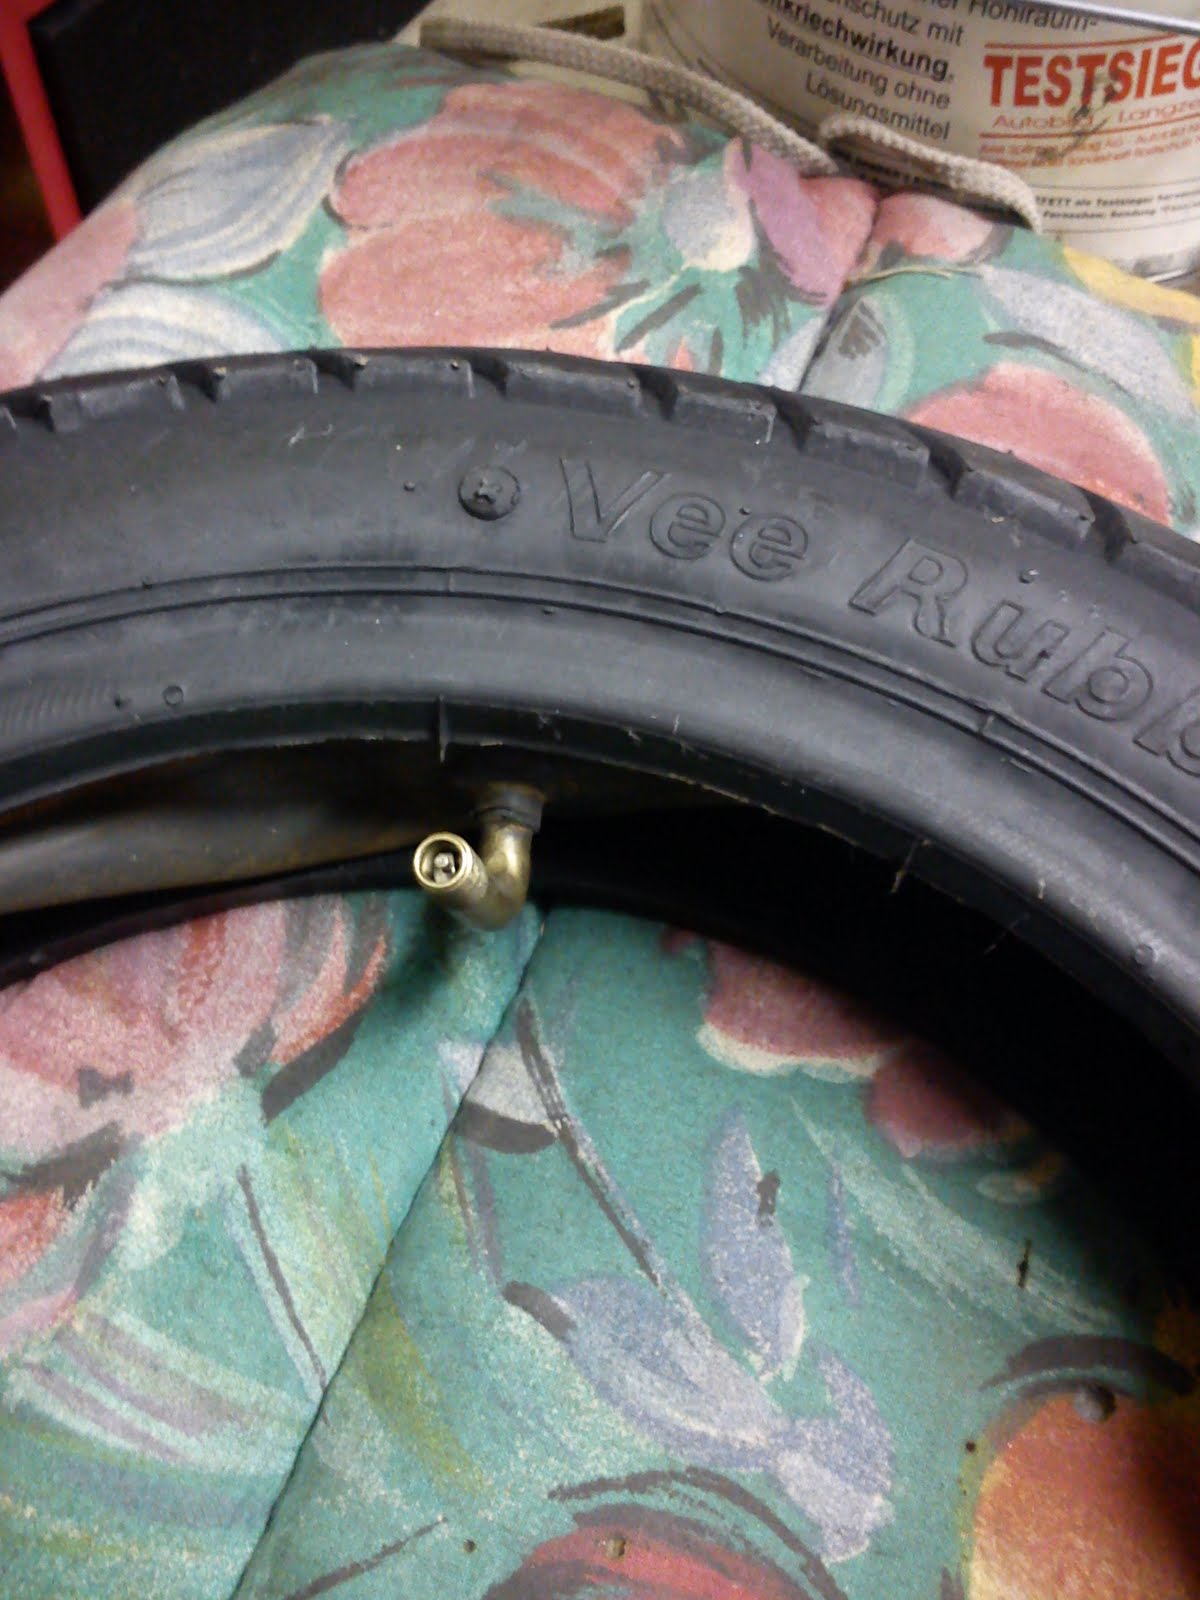
At first you should place the tube inside the tire. Make sure to have some air inside which will make the job somewhat easier. The valve has to be facing upwards.
Apply Tire and Tube
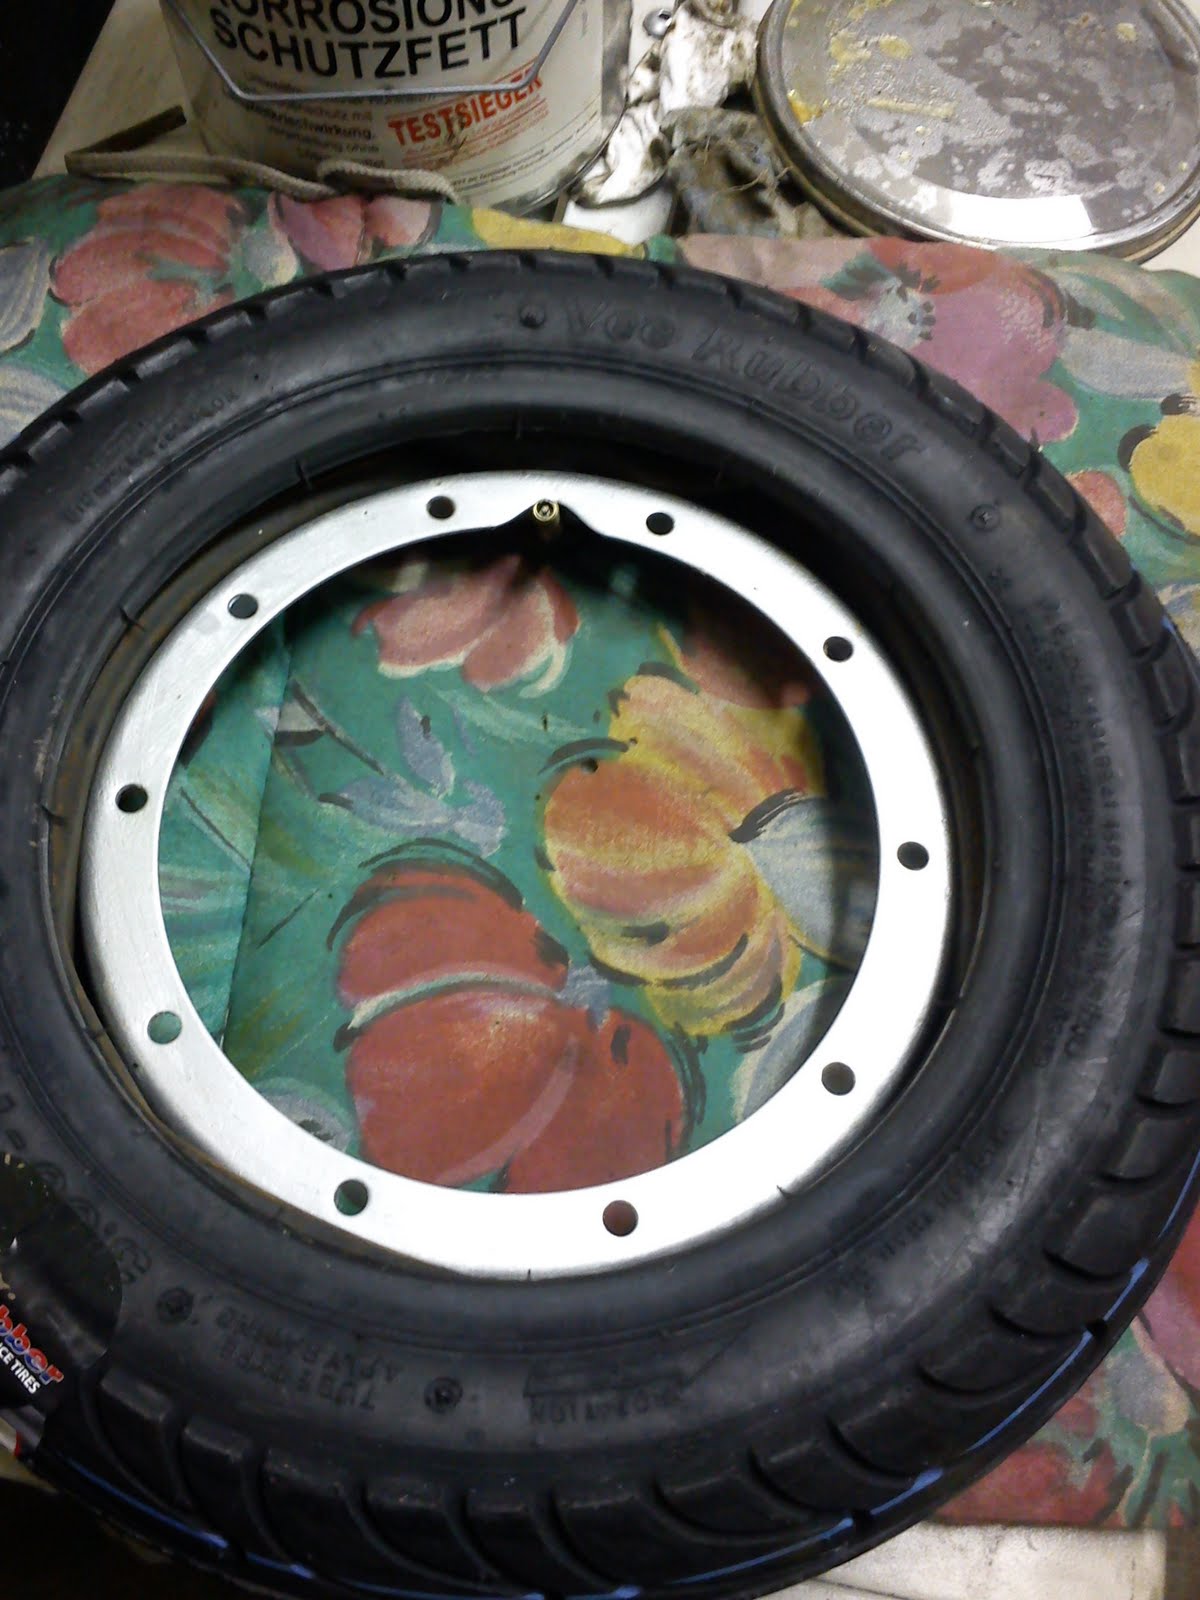
Start with the 'bigger' half of the rim, the one without bolts but with the notch for the valve.
Place the rim half on a surface with the inside facing upwards.
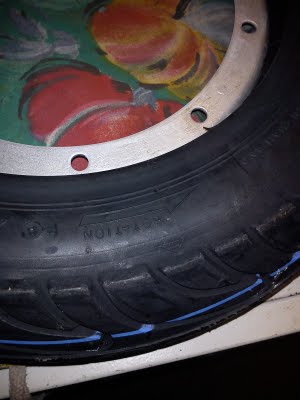
If the tire has a direction of rotation you must pay attention to this in order to correctly fit the tire. Place the tire softly at the edge of the rim but don't push it down all the way. Prior to this you have to insert the valve into the notch. Now push down the tire all the way.
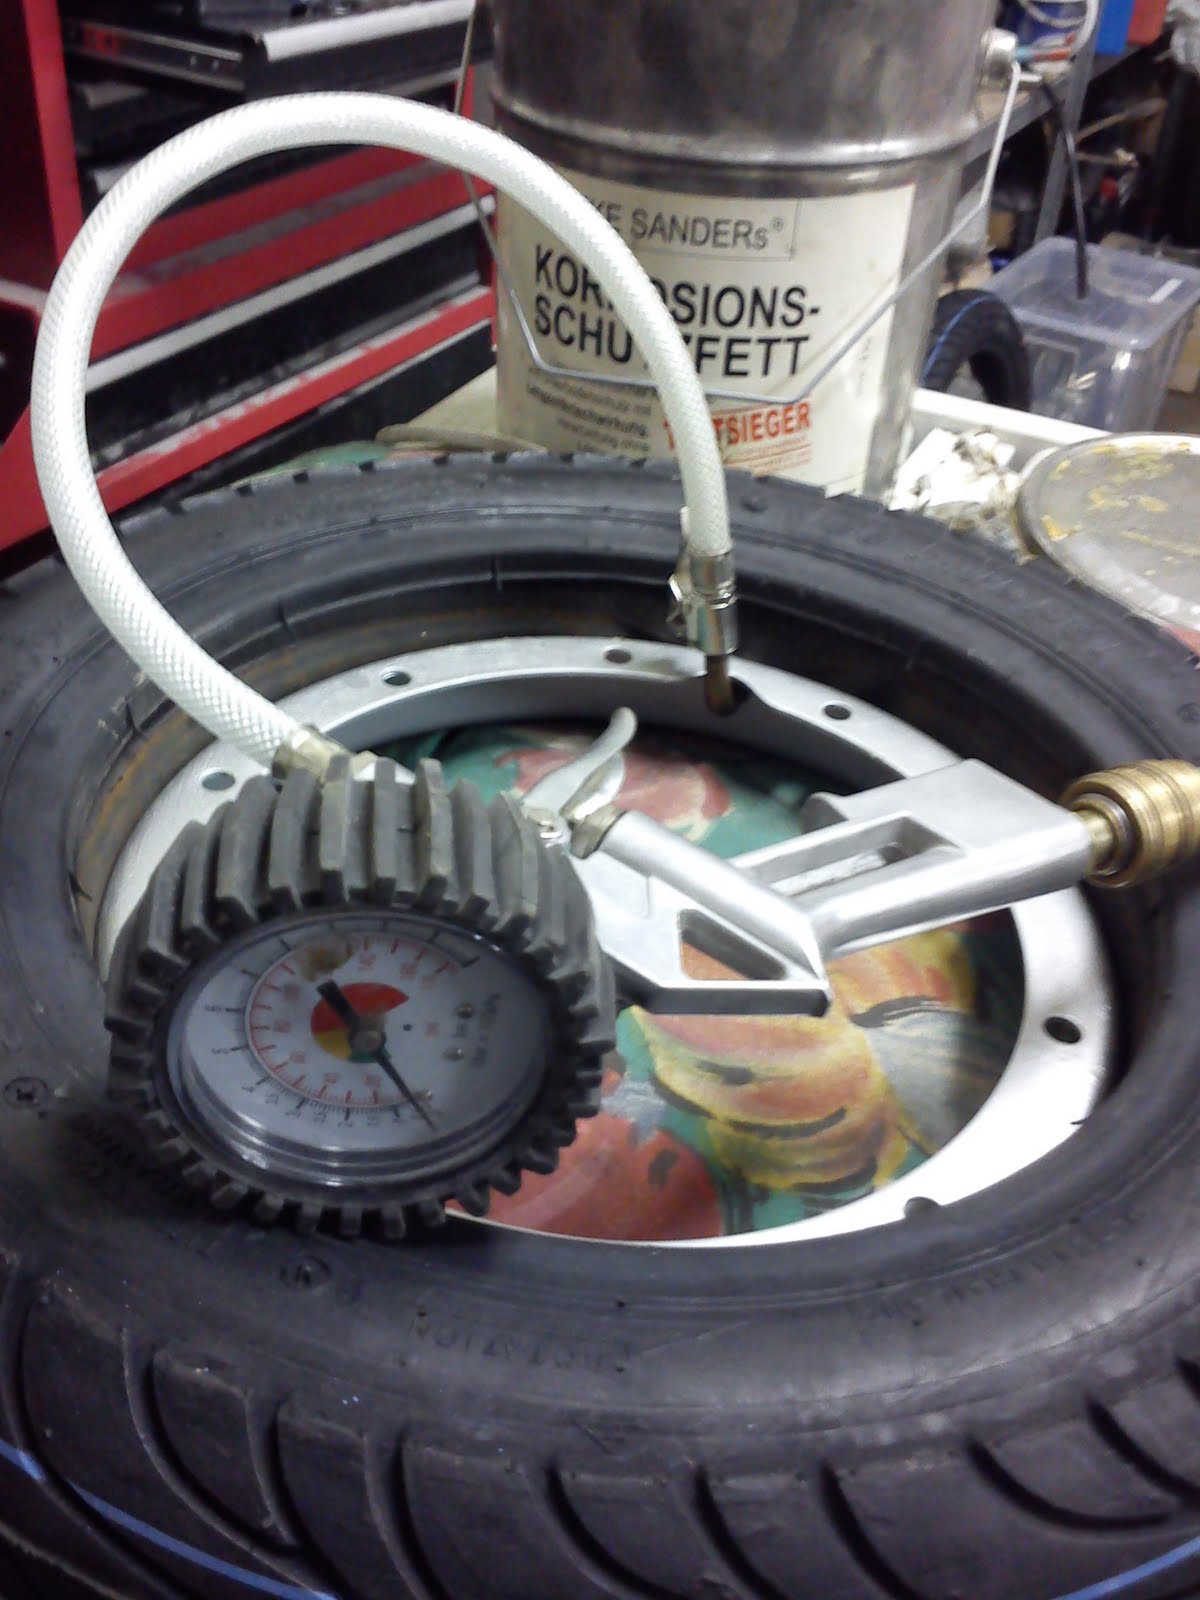
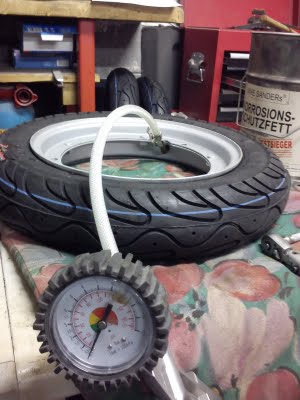
Now inflate the tube just as much as needed in order to lift up the tire's edge enough to enable the other half of the rim to connect properly.
Bolting Rim Halves
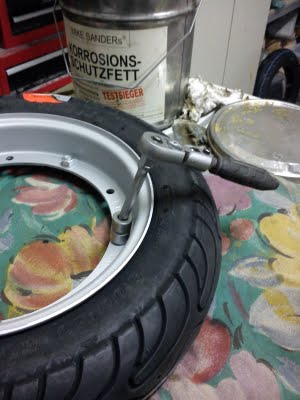
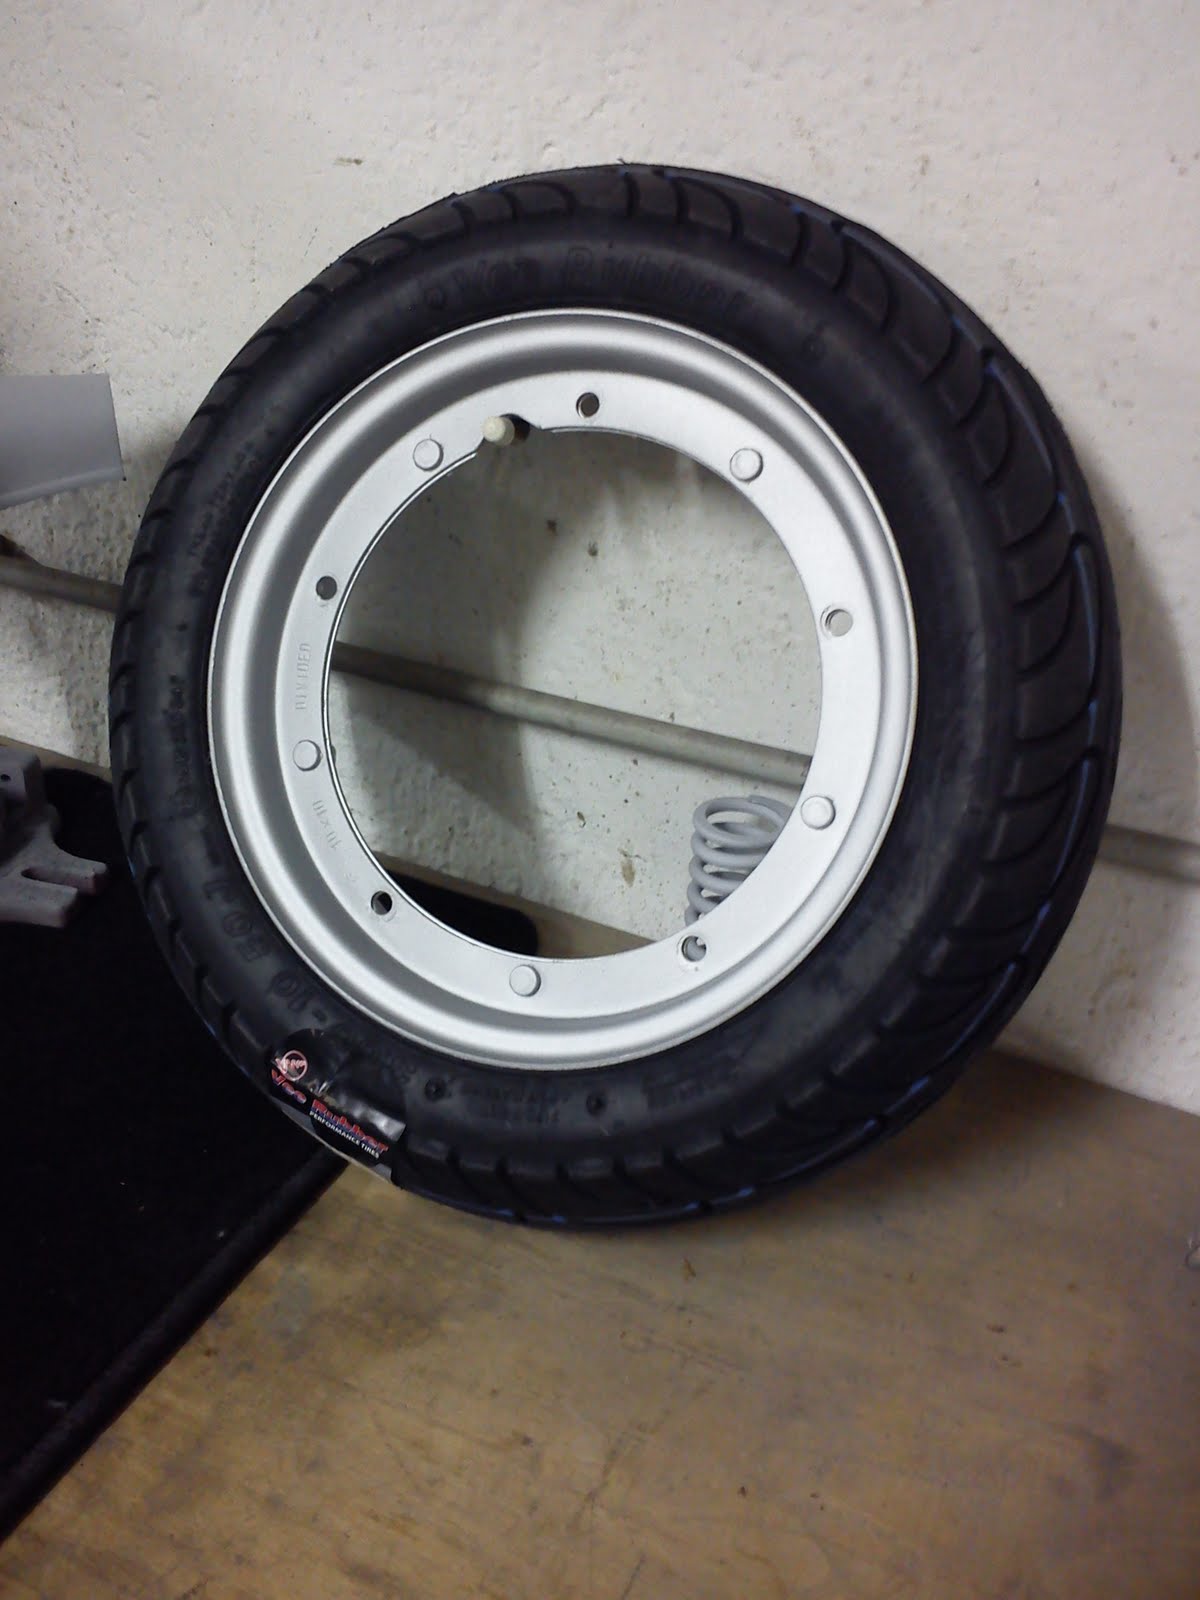
Now attach the second and 'smaller' half and turn around the rim to get to the bolts and add the nuts. Push down the rim halves in order to screw the five nuts (wrench size 13) onto the bolts. Don't forget the correct washers and tighten all screws criss-cross.
Finally check and adjust the tire pressure. we do usually adjust the tire pressure to 2.0 bar.


